


Die Verwendung der richtigen Komponenten ist der Schlüssel zur optimalen Leistung Ihrer Solarstromanlage für zu Hause. Einer der wichtigsten Teile ist der MPPT-Solarladeregler (Maximum Power Point Tracking). Es trägt dazu bei, dass Solarmodule mit höchster Effizienz arbeiten und gleichzeitig Ihre Batterien sicher laden.
Diese Anleitung führt Sie Schritt für Schritt durch den korrekten Anschluss eines MPPT-Ladereglers für eine reibungslose und effiziente Installation.
Was ist ein MPPT-Solarladeregler?
Ein MPPT-Solarladeregler maximiert die Solarstromproduktion, da er die Spannungs- und Stromwerte automatisch an Ihre Batterieanforderungen anpasst. Die fortschrittliche Technologie ermöglicht Energiegewinnungsraten, die 30% über der Leistung herkömmlicher Controller liegen. Ein MPPT-Solarladeregler optimiert Ihren Solarstrom für Ihr Heimsystem, da er die Leistungsabgabe Ihrer Solarmodule maximiert.
Warum einen MPPT-Controller verwenden?
- Höhere Effizienz: Maximiert die Energieausbeute durch die dynamische Anpassung von Spannung und Strom, um sie an den optimalen Leistungspunkt des Solarmoduls anzupassen.
- Bessere Energienutzung: Sorgt für eine optimale Energieübertragung von den Solarmodulen zu den Batterien und erhöht so die Ladeeffizienz.
- Zuverlässig unter verschiedenen Bedingungen: Passt sich an Temperaturschwankungen und wechselnde Sonneneinstrahlung an und sorgt so für eine stabile Leistung.
Schritt-für-Schritt-Anleitung zum Anschließen eines MPPT-Solarladereglers
Für die korrekte Installation Ihres MPPT-Ladereglers befolgen Sie dieses Verfahren:
1· Sammeln Sie Ihre Ausrüstung
- Bevor Sie beginnen, stellen Sie sicher, dass Sie Folgendes haben:
- Solarmodule (richtig dimensioniert für Ihr System)
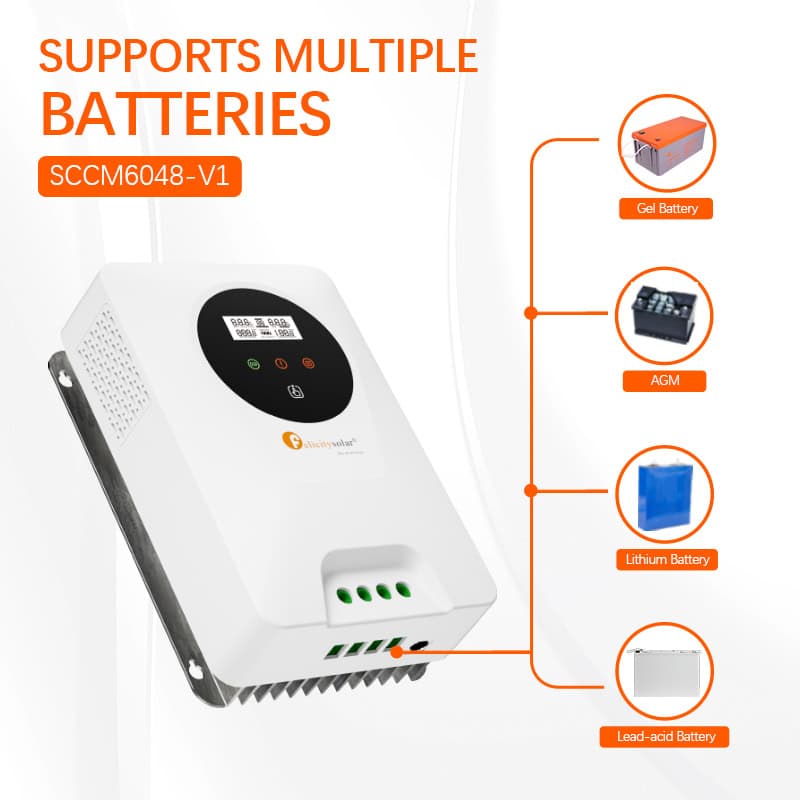
- MPPT-Solarladeregler
- Deep-Cycle-Lithiumbatterien
- Kabel und Anschlüsse (korrekt für Spannung und Strom ausgelegt)
- Sicherungen und Leistungsschalter (zur Sicherheit)
- Multimeter (zur Überprüfung der Spannungspegel)
2· Wählen Sie einen sicheren Installationsort
Wählen Sie einen kühlen, trockenen und gut belüfteten Ort für die Montage Ihres MPPT-Controllers. Vermeiden Sie direkte Sonneneinstrahlung oder Orte mit hoher Luftfeuchtigkeit, da extreme Bedingungen die Leistung beeinträchtigen können.
3· Schließen Sie zuerst die Batterie an
Warum? Der Verbindungsvorgang fungiert als erster Schritt, da er es dem MPPT-Controller ermöglicht, vor dem Startvorgang sowohl den Batterietyp als auch die Spannung zu bestimmen.
- Bestimmen Sie die positiven und negativen Anschlüsse, die sowohl am Steuergerät als auch am Batteriesystem vorhanden sind.
- Der Minusanschluss des Controllers benötigt eine Verbindung zum Minuspol (-) der Batterie.
- Verbinden Sie den Pluspol (+) der Batterie mit dem Plusanschluss des Controllers.
- Aus Sicherheitsgründen sollten Schutzsysteme mit Sicherungen oder Leistungsschaltern installiert werden.
- Die mit einem Multimeter durchgeführte Überprüfung der Batteriespannung hilft bei der Überprüfung geeigneter Kabelverbindungen.
4· Schließen Sie die Solarmodule an
- Stellen Sie sicher, dass Ihre Solarmodule ausgeschaltet sind, bevor Sie sie anschließen.
- Verbinden Sie das positive (+) Solarpanel-Kabel mit dem positiven Eingang des MPPT-Reglers.
- Verbinden Sie das negative (-) Solarpanel-Kabel mit dem negativen Eingang des Controllers.
- Die Verwendung von MC4-Steckern mit einem geeigneten Verkabelungssystem sorgt für eine sichere elektrische Verbindung.
Tipp: Die Verbindung mehrerer Panels muss entsprechend Ihren Spannungs- und Stromanforderungen in Reihen- oder Parallelverdrahtungskonfiguration erfolgen.
5· Schließen Sie die Last an (optional)
- Einige MPPT-Controller verfügen über einen Lastausgang zur Stromversorgung kleiner Geräte. Bei Verwendung dieser Funktion:
- Verbinden Sie das Pluskabel Ihres Lastgeräts mit dem Pluspol des Lastausgangs.
- Verbinden Sie das Minuskabel mit dem Minuspol des Lastausgangs.
6· Überprüfen Sie die Verbindungen noch einmal
Vor dem Einschalten des Systems:
- Stellen Sie sicher, dass alle Verbindungen sicher und richtig platziert sind.
- Stellen Sie sicher, dass Sicherungen und Schutzschalter ordnungsgemäß installiert sind, und prüfen Sie die Spannung an verschiedenen Punkten.
7· Schalten Sie das System ein und konfigurieren Sie die Einstellungen
- Schalten Sie zuerst die Batterie und dann die Solarmodule ein.
- Ihr MPPT-Controller erkennt die Spannung und passt sie entsprechend an.
- Richten Sie Parameter wie Batterietyp und Lademodus auf dem LCD-Display des Controllers ein (falls verfügbar).
Warum sollten Sie sich für einen hochwertigen MPPT-Controller von Felicity ESS?
entscheiden? Ein guter MPPT-Controller steigert die Effizienz, verlängert die Batterielebensdauer und sorgt für Sicherheit. Bei Felicity ESS bieten unsere MPPT-Controller:
- Hoher Umwandlungswirkungsgrad (steigert die Leistungsabgabe)
- Smarte Überwachung mit LCD-Displays und App-Steuerung
- Mehrere Sicherheitsfunktionen (Überladung, Kurzschluss und Überhitzung)
- Haltbarkeit für alle Wetterbedingungen
Wenn Sie in Solarenergie für Ihr Zuhause investieren, ist ein zuverlässiger MPPT-Regler ein Muss.
Schlussfolgerung
Die Installation eines MPPT-Solarladereglers ist ein wesentlicher Schritt für den Aufbau eines Solarstromsystems für zu Hause. Ein ordnungsgemäß durchgeführtes Verfahren mit hochwertiger Ausrüstung und die Auswahl eines hervorragenden Reglers maximieren die Effizienz des Solarsystems und verlängern seine Lebensdauer.
Ein hochwertiger MPPT-Regler verbessert die Leistung Ihres Solarstromsystems für zu Hause. Besuchen Sie Felicity ESS, um noch heute die besten Optionen zu finden.